教你如何调试Vue2.x的源码,从环境准备到编写测试用例
调试环境准备 首先,我们要准备一下调试环境(这里不会细讲git有关的操作,推荐阮一峰老师的教程 )。
首先去Vue官方github仓库fork一份源码到自己的仓库(没有账户,先自行创建一个 )
克隆一份源码到自己本地
打开项目,运行npm i安装依赖
打开package.json,找到script配置对象,在dev一栏改成如下配置
1 "dev": "rollup -w -c scripts/config.js --sourcemap --environment TARGET:web-full-dev",
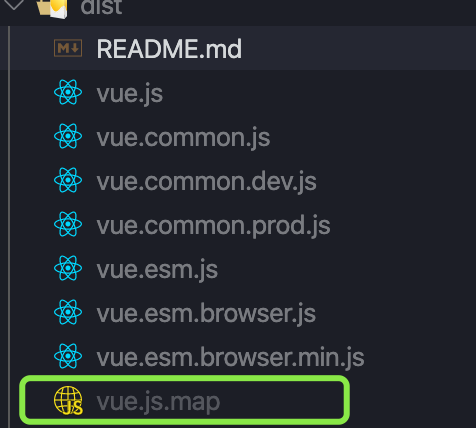
运行npm run dev,它会帮助我们在dist目录下,打包一份带有映射关系的Vue.js文件,这对我们之后调试源码非常有帮助
简单看看new Vue干了什么 我们在项目example目下新建一个test目录,之后的测试用例都会写在该目录下。好了,开始动手开干吧!
编写一个01-new Vue.html文件
1
2
3
4
5
6
7
8
9
10
11
12
13
14
15
16
17
18
19
20
21
22
23
<!DOCTYPE html > <html lang ="en" > <head > <meta charset ="UTF-8" > <meta name ="viewport" content ="width=device-width, initial-scale=1.0" > <title > Vue</title > <script src ="../../dist/vue.js" > </script > </head > <body > <div id ="app" > {{message}} </div > <script > const app = new Vue({ el: "#app" , data: { message: "hello Vue" } }) </script > </body > </html >
在浏览器中打开编写的测试用例,然后打开控制台,找到我们写的测试用例文件,然后在new Vue处打上断点,接着刷新浏览器,我们就进入调试模式了,具体的调试Chrome步骤,有不熟悉的可以看看这篇文章,Chrome 专家调试法
打断点,进入new Vue函数里面后,看到如下代码
1
2
3
4
5
6
7
8
function Vue (options ) if (process.env.NODE_ENV !== 'production' && !(this instanceof Vue) ) { warn('Vue is a constructor and should be called with the `new` keyword' ) } this ._init(options) }
可以看到,改构造函数主要是调用_init函数,对传入的options进行了处理,好我们接着进入_init函数看一看
1
2
3
4
5
6
7
8
9
10
11
12
13
14
15
16
17
18
19
20
21
22
23
24
25
26
27
28
29
30
31
32
33
34
35
36
37
38
39
40
41
42
43
44
45
46
47
48
49
50
51
52
53
54
55
56
Vue.prototype._init = function (options?: Object ) const vm: Component = this vm._uid = uid++ let startTag, endTag if (process.env.NODE_ENV !== 'production' && config.performance && mark) { startTag = `vue-perf-start:${vm._uid} ` endTag = `vue-perf-end:${vm._uid} ` mark(startTag) } vm._isVue = true if (options && options._isComponent) { initInternalComponent(vm, options) } else { vm.$options = mergeOptions( resolveConstructorOptions(vm.constructor), options || {}, vm ) } if (process.env.NODE_ENV !== 'production' ) { initProxy(vm) } else { vm._renderProxy = vm } vm._self = vm initLifecycle(vm) initEvents(vm) initRender(vm) callHook(vm, 'beforeCreate' ) initInjections(vm) initState(vm) initProvide(vm) callHook(vm, 'created' ) if (process.env.NODE_ENV !== 'production' && config.performance && mark) { vm._name = formatComponentName(vm, false ) mark(endTag) measure(`vue ${vm._name} init` , startTag, endTag) } if (vm.$options.el) { vm.$mount(vm.$options.el) } }
可以看到_init是绑定在Vue原型上,该方法进行了一系列处理,核心逻辑都在这段
1
2
3
4
5
6
7
8
initLifecycle(vm) initEvents(vm) initRender(vm) callHook(vm, 'beforeCreate' ) initInjections(vm) initState(vm) initProvide(vm) callHook(vm, 'created' )
它们进行了初始化生命周期,初始化时间,初始化渲染,初始化data、computed、methods、props等等。
最后面是执行了$mount挂载,他会把Vue渲染成真实dom并挂载到我们制定的el元素上。
总结 本文旨在帮助怎么进行Vue源码调试,具体的代码逻辑不做详解。授人以鱼不如授人以渔,大家加油吧💪。